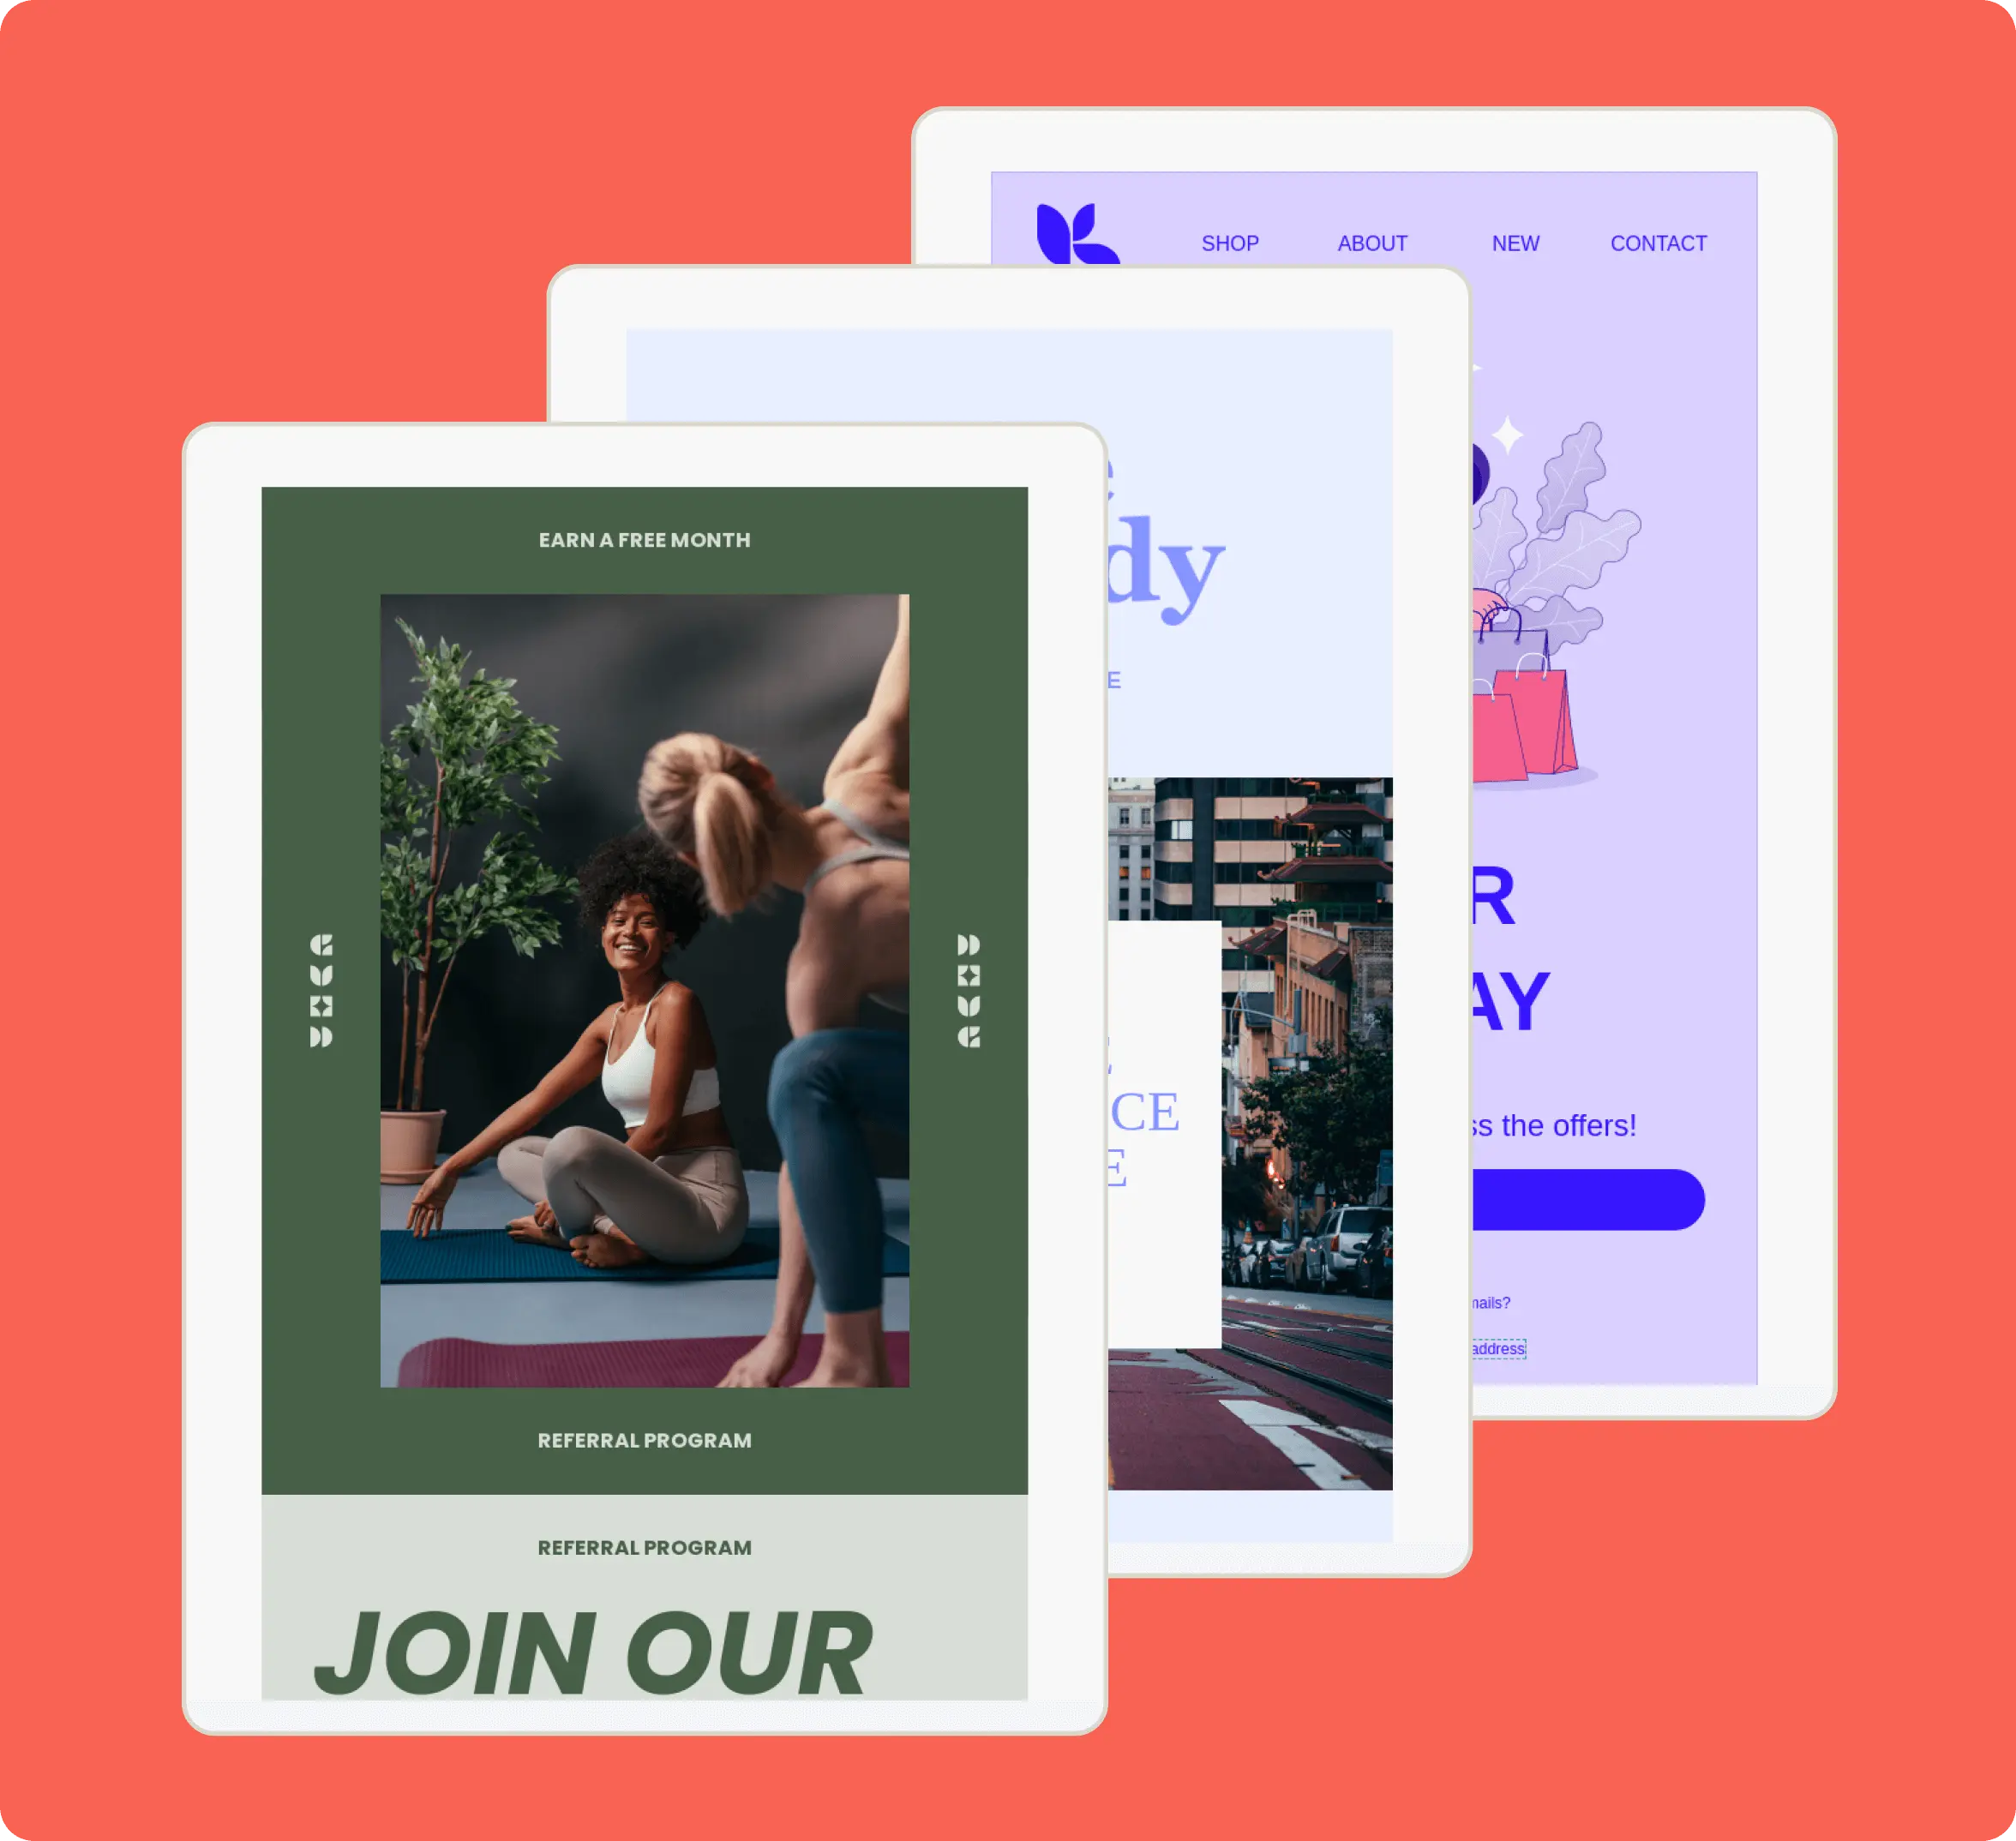
Free email templates
160+ customizable email templates to make your own
Email templates for almost any occasion, all built to engage and sell. Plus, powerful AI features to edit content and even create new templates from scratch.

Birthday - Coupon

Anniversary - First purchase

Deal - VIP promotion

Post-purchase - Thank you

Deal - VIP Promotion

Winback - Re-engagement offer

Winback - Re-engagement offer

Winback - Re-engagement offer

Summer - Product announcement

Summer - Newsletter

Outreach - Newsletter

Outreach - Newsletter
Get started fast with Klaviyo email templates
How to choose the best email template for your campaign
Template type
Start with what you’re sending. Filter by goal or use case—like welcome series, promos, announcements, abandoned carts, or win‑back campaigns—to see relevant templates built for that job.
Layout and design
Narrow by layout: simple single‑column emails for quick updates, multi‑column grids to showcase products, or text‑forward designs for personal messages and order updates. Click any template to see the full design
Seasonal themes
Browse templates tagged for key moments—BFCM, Valentine’s Day, Mother’s Day, and dozens more—so your campaigns always feel timely.
How to customize template layouts, styles, and images
Intuitive drag-and-drop editor
Swap in your own text, images, buttons, columns, and tables in a few clicks—no HTML required. Rearrange blocks visually so every template matches your brand.
Global brand styles and content
Set your logo, colors, button styles, and fonts once, then apply them across templates for a consistent look across campaigns. Save whole sections as universal content you can reuse and update across multiple templates.
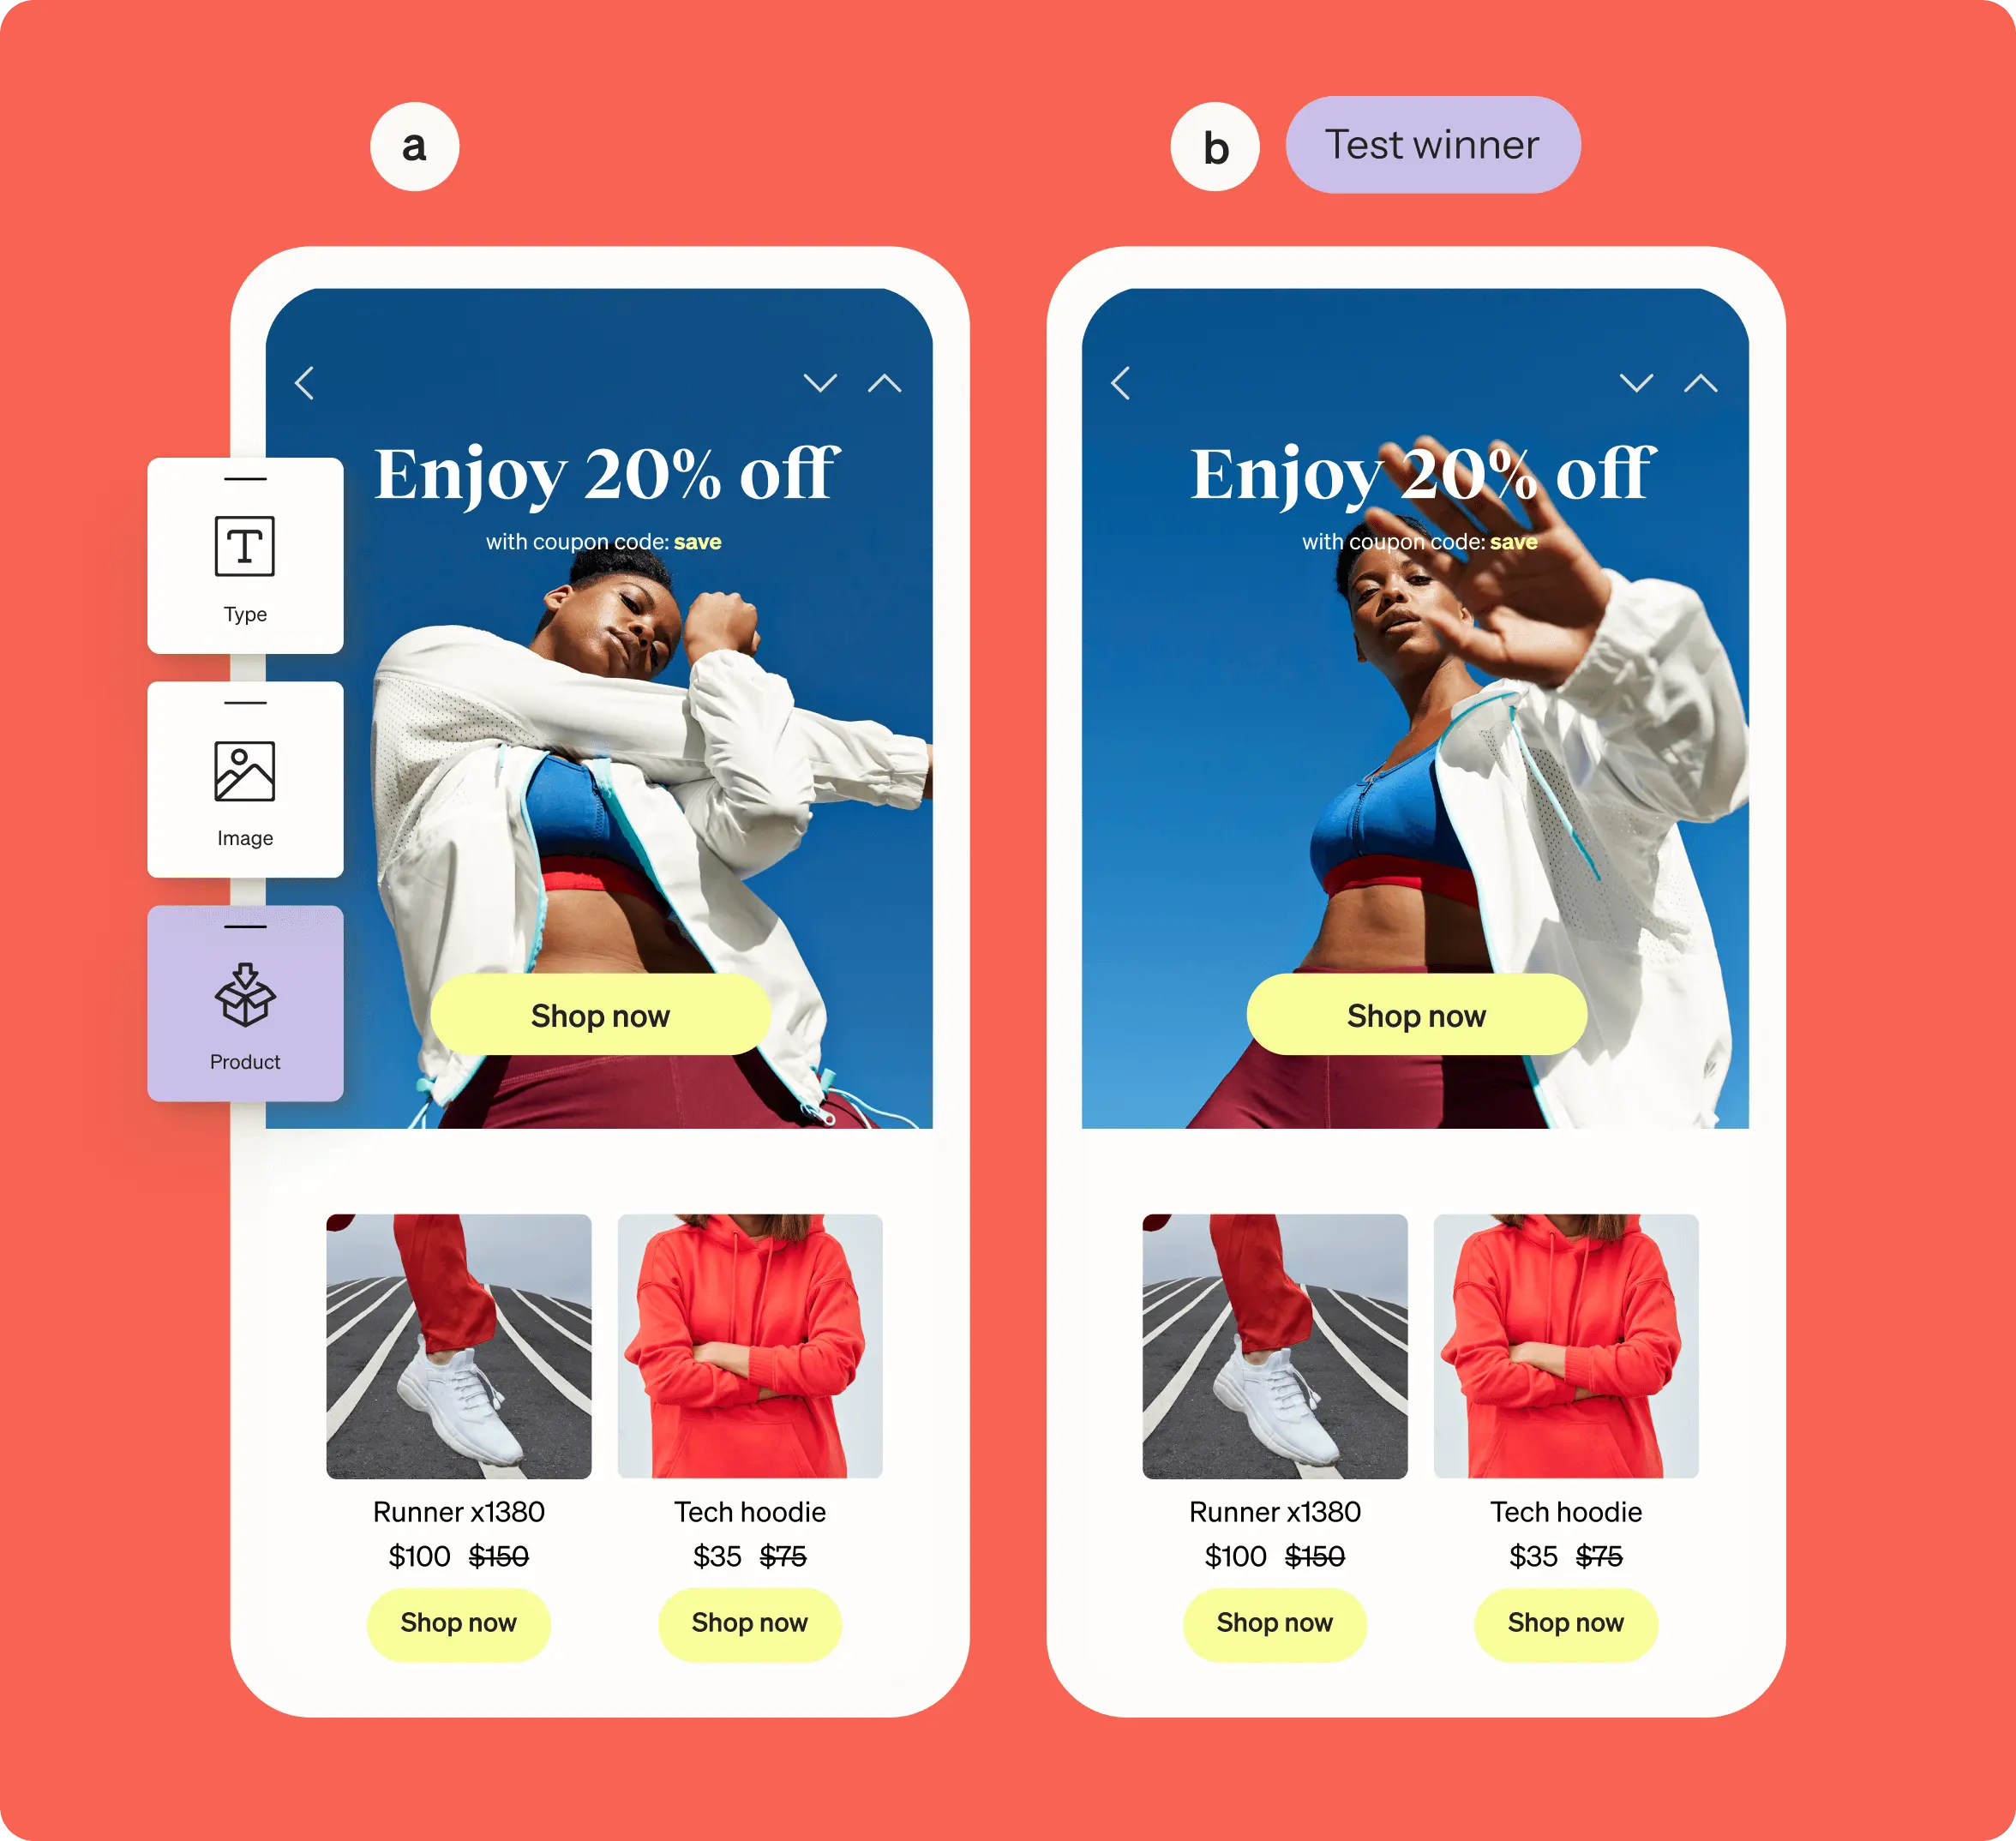
Image Remix Klaviyo AI
Use AI to edit images directly in the template editor: change backgrounds, swap colors, and add or remove objects with a simple prompt—no extra design tools required.

How to optimize email campaigns with AI
Built-in email AI Klaviyo AI
Generate subject lines, body copy, new sections, or entire emails in seconds. Run AI-powered A/B tests that predict the best-performing variant for each customer based on past engagement.
Dynamic product content Klaviyo AI
Automatically plug in product blocks that adapt to each shopper via AI-powered product feeds based on browse and purchase behavior.
Marketing Agent Klaviyo AI
Beat writer’s block before it starts. Marketing Agent can fully design and draft email campaigns for your review. It’s trained on your brand guidelines and adapts to results, seasonality, and benchmarks so timing, content, and offers stay relevant.
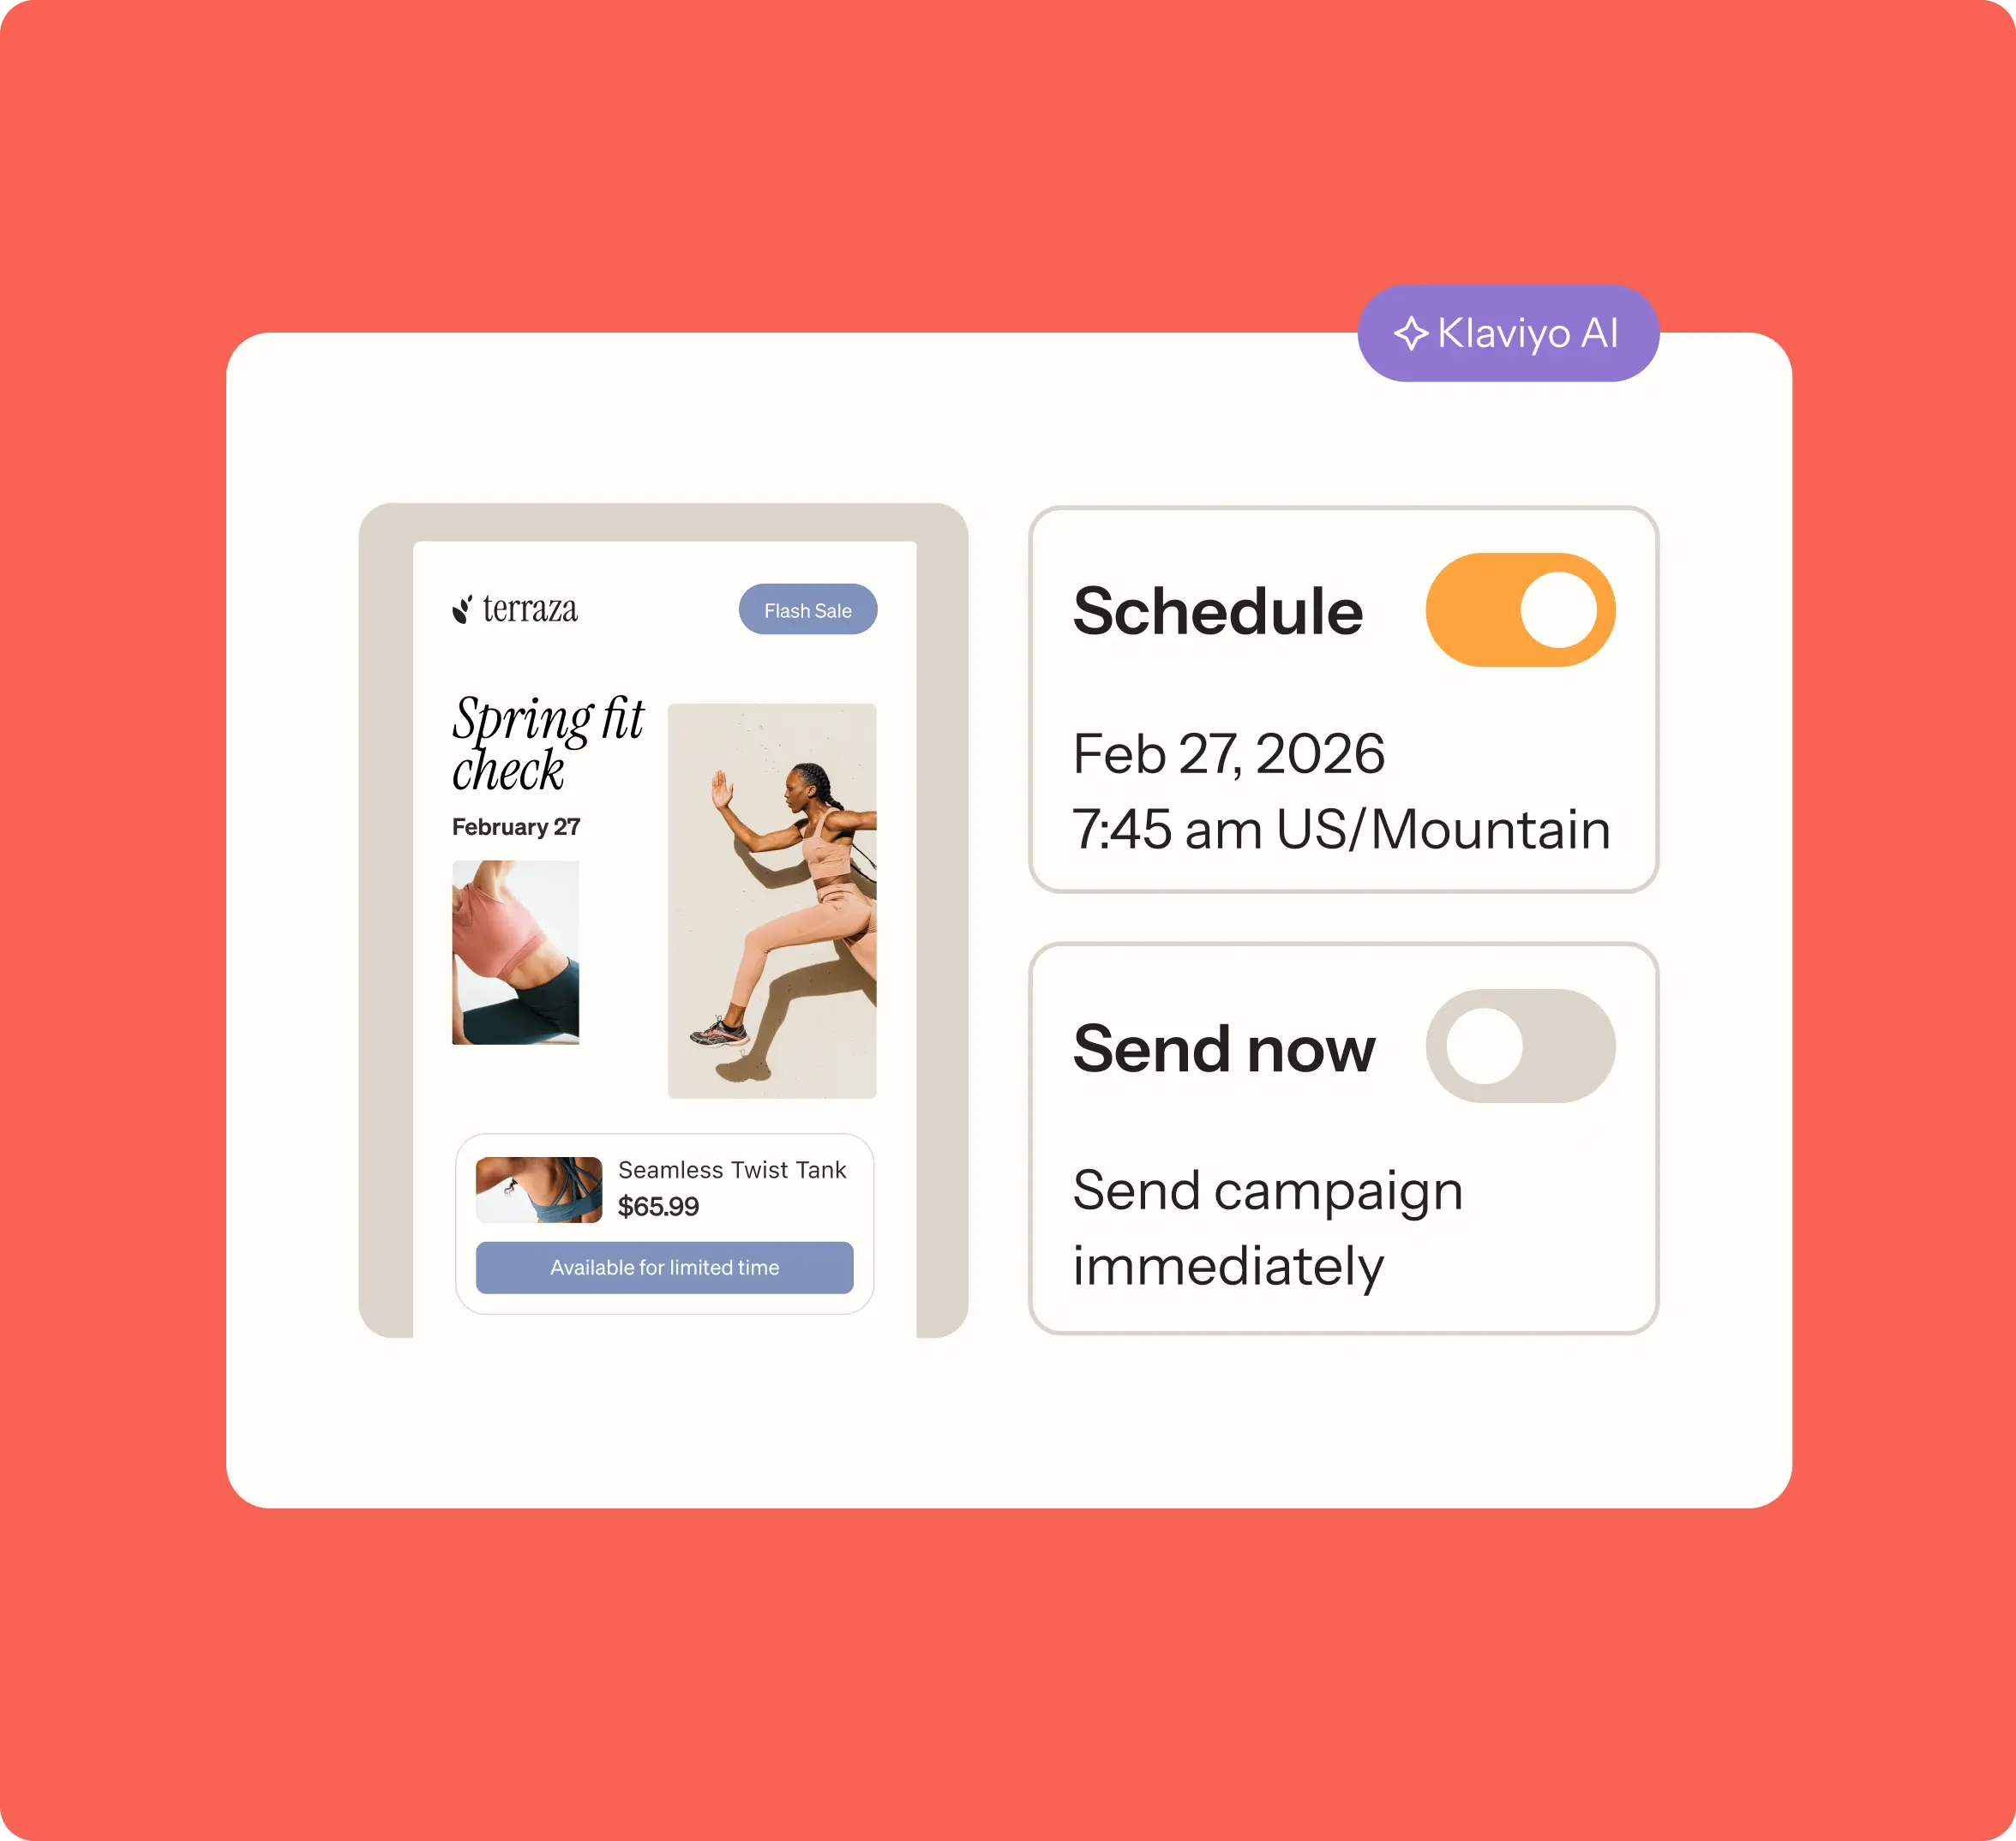
How to send out your campaign
Visual inbox testing
Preview how your email will look in popular inboxes, across devices, and in dark mode so you can catch layouts or contrast issues before you send.
Preview with real data
Test with live customer data by selecting a specific profile. Check that your template’s dynamic products, personalized content, and CTAs are all rendering exactly as expected.
Personalized send timeKlaviyo AI
Deliver each email at the optimal time for every subscriber based on their historical open and click behavior, so your emails land when people are most likely to engage.
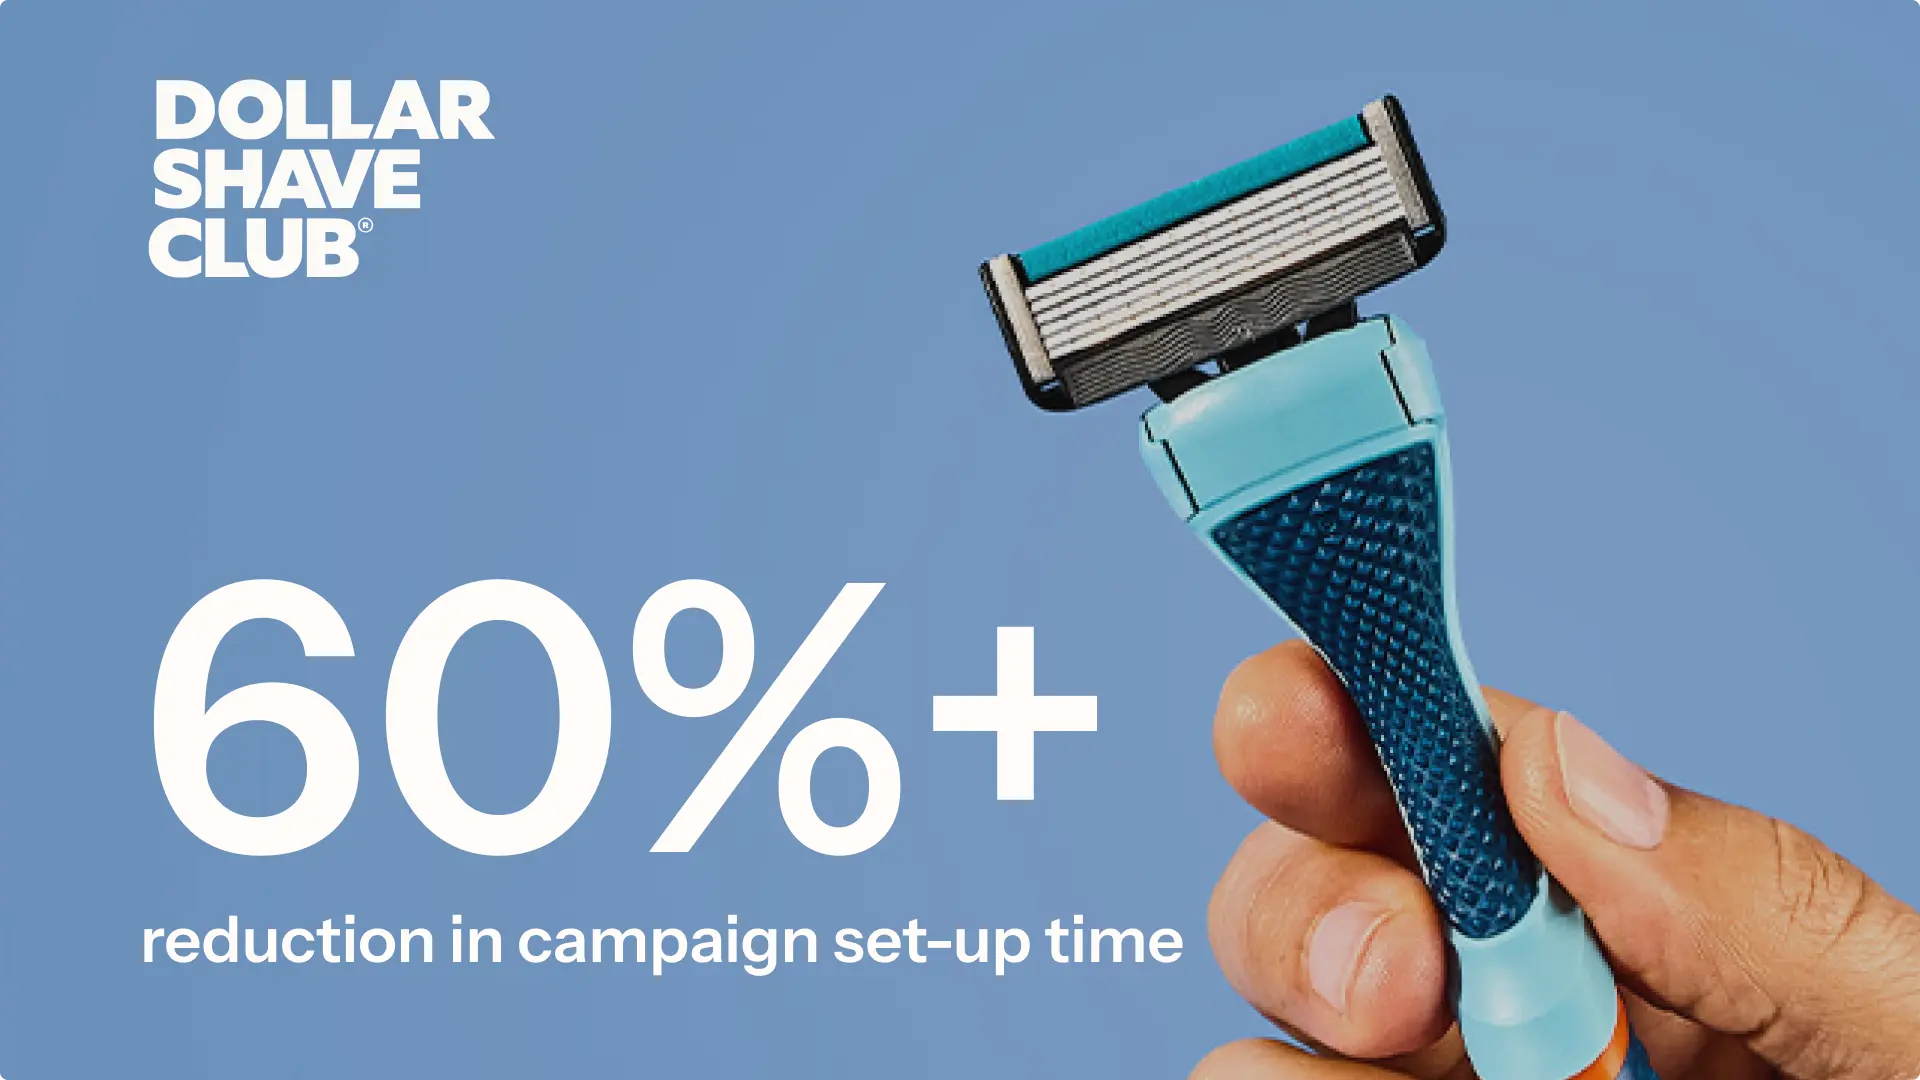
How leading brands ship smart campaigns fast
“The biggest unlock from Klaviyo has been personalization at scale. We can do things we’ve never been able to do before because everything is under one roof. We can find our best customers and treat them like our best customers.”
– Melanie Fox, Director of lifecycle marketing

“Our team couldn’t believe how easy Klaviyo was to use. It was so simple for us to go in and create sends without having to do SQL queries or understand a relational database.”
– Matthew Seifert, VP of CRM

“Klaviyo is keeping up and supporting us in every next step, consistently rolling out new features that allow us to do new and interesting things, which allows us to grow.”
– Shannon Jörgenfelt, Senior manager of email and retention
Go beyond templates and build full campaigns from scratch with AI
Marketing Agent can automatically create email drafts for you to review. It learns your brand by analyzing your website’s images, colors, and copy. Edit drafts however you like, generate fresh campaigns weekly, and nothing ever sends without your approval.
Email templates FAQ
Yes, Klaviyo’s library of 160+ email templates is free to use once you sign up for an account. You can access, customize, and send templates without any design or coding fees.